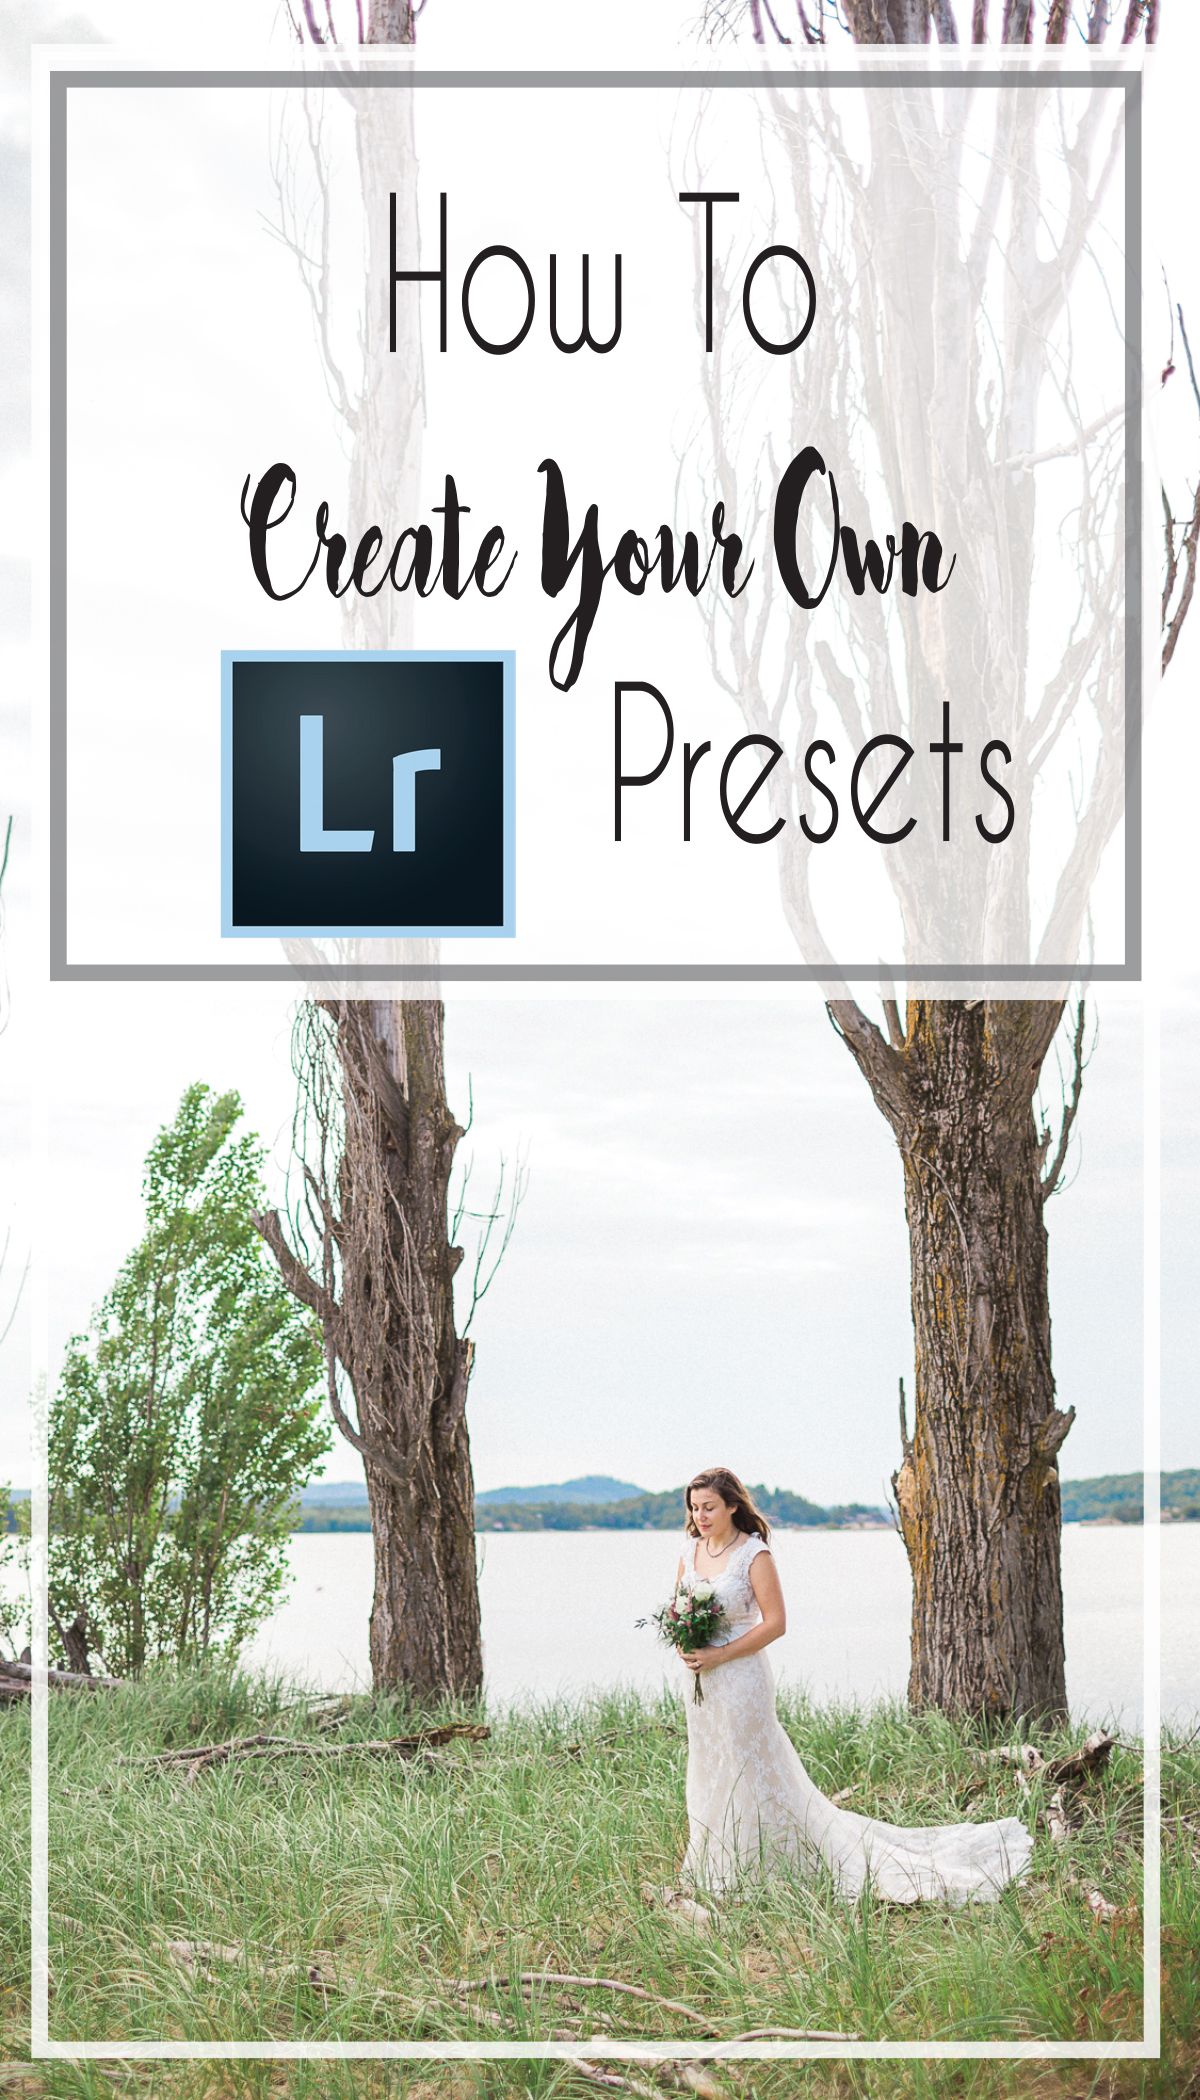
Lightroom - How To Make Your Own Preset
/
Creating your own Lightroom preset is super easy and quick (just 4 steps)! The hardest part will be finding what tweaks/edits work best as a solid base for all of your images. But actually setting up a preset - piece of cake!
As an editor and photographer, I find myself needing to make SO many different presets and versions of my presets and it is so incredibly simple to do. When I was first learning to edit, the first preset I needed to make was my very own Black & White preset. After I learned to do that, it changed the whole game! SO much time saved in Lightroom! Sooo.....
Let's make one!
I will show you the steps in a few screenshots in case you are visual person and if not, follow the steps below.
Creating A Lightroom Preset In 4 Steps:
1. Edit your image with your usual settings that you find yourself applying to each image. (Choose an image that is very representational of your usual work so that you are starting with a really solid base.)
2. Go to Develop ---> New Preset / OR us keyboard shortcuts (Ctrl + Shift + N on PC or Command + Shift + N on Mac)
3. Name Your Preset & Check all the boxes that you want to include in your new preset in the New Develop Preset window that pops up. (Typically all the items in the basic tone panel, tone curve, clarity, and sharpening are the ones I almost always leave checked). You don't want to check the white balance box (usually) because you don't want to apply the same white balance to every image. If you have a very specific look when it comes to certain colors, like making your greens more minty - then make sure to check the boxes for Treatment & Color as well.
4. Hit CREATE, and BOOM! You just made your very own preset. It will show up in the left side panel, under USER PRESETS.
It is so simple!
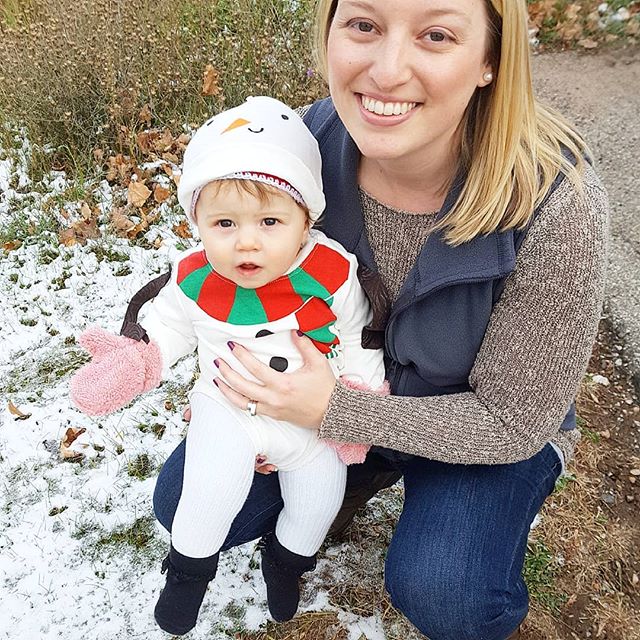
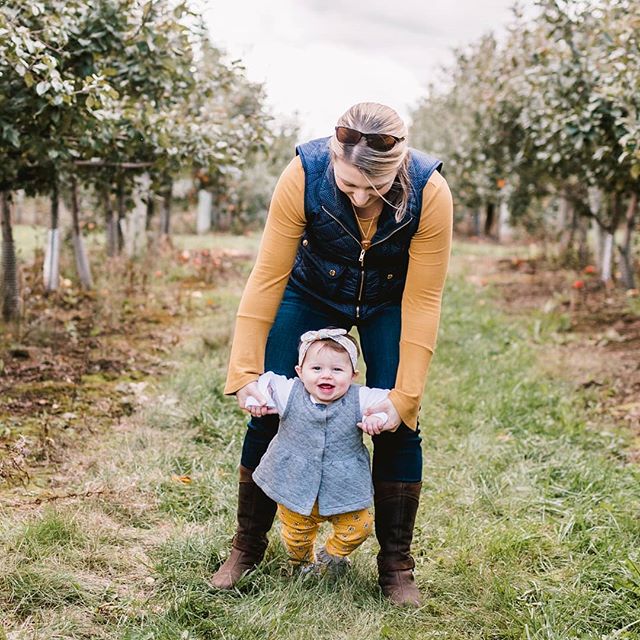
Now for all you visual peeps : (click on the images to see them in a larger window)
STEP ONE & Two - Click the image to see it bigger.
Step three & FOUR - Click the image to see it bigger
I told you it was going to be simple. Did you believe me?
If you aren't sure what your preset will or should look like just yet - here is your freebie tip!
FREEBIE TIP!
Pay close attention to your next editing session and look for patterns in the way that you edit. Does your basic tone panel tend to look like a backwards Z or backwards C on each image? Does your tone curve always get pulled in on the edges? Are you constantly bumping your exposure up by +.15 and your clarity by +10? Start with those basic edits to make yourself a starter preset that you can apply to every image and then tweak as needed!
When I make my black and whites without a preset, I found that I was usually bumping up my exposure and contrast, adding clarity, and my tone panel looked like a backwards C! So I put all of those into a basic black + white preset.
Don't want to make your own?
I can help. E-mail me for an appointment to start developing your very own preset. Yep, we can do that together! Having a solid preset is going to save you time, energy, and from future frustration. So let's do it!
I hope you found this tutorial helpful! Please feel free to pin and share this so that you can find it later!
Subscribe to hear more tips and freebies! (+ you will get some freebie stock photos when you sign up!)
Have more questions or want to see me show how to do something else? E-mail me with the contact page or comment below! I would LOVE to hear from you!